search
0
Luna Lapin and Friends

How to make a Mini Luna with Cynthia Treen – Part one!

By 14th October 2023August 21st, 20242 Comments

We are absolutely delighted to be sharing Part One of the Luna x Wind in the Willows Cross Over.

As you may know we have the wonderful and incredibly talented Cynthia Treen with us this weekend for our Wind in the Willows Workshops. Cynthia’s little felty world is much smaller than Luna’s but if you want them all to be able to picnic together beneath a willow tree – here are the instructions on how to make a miniature armature Luna.

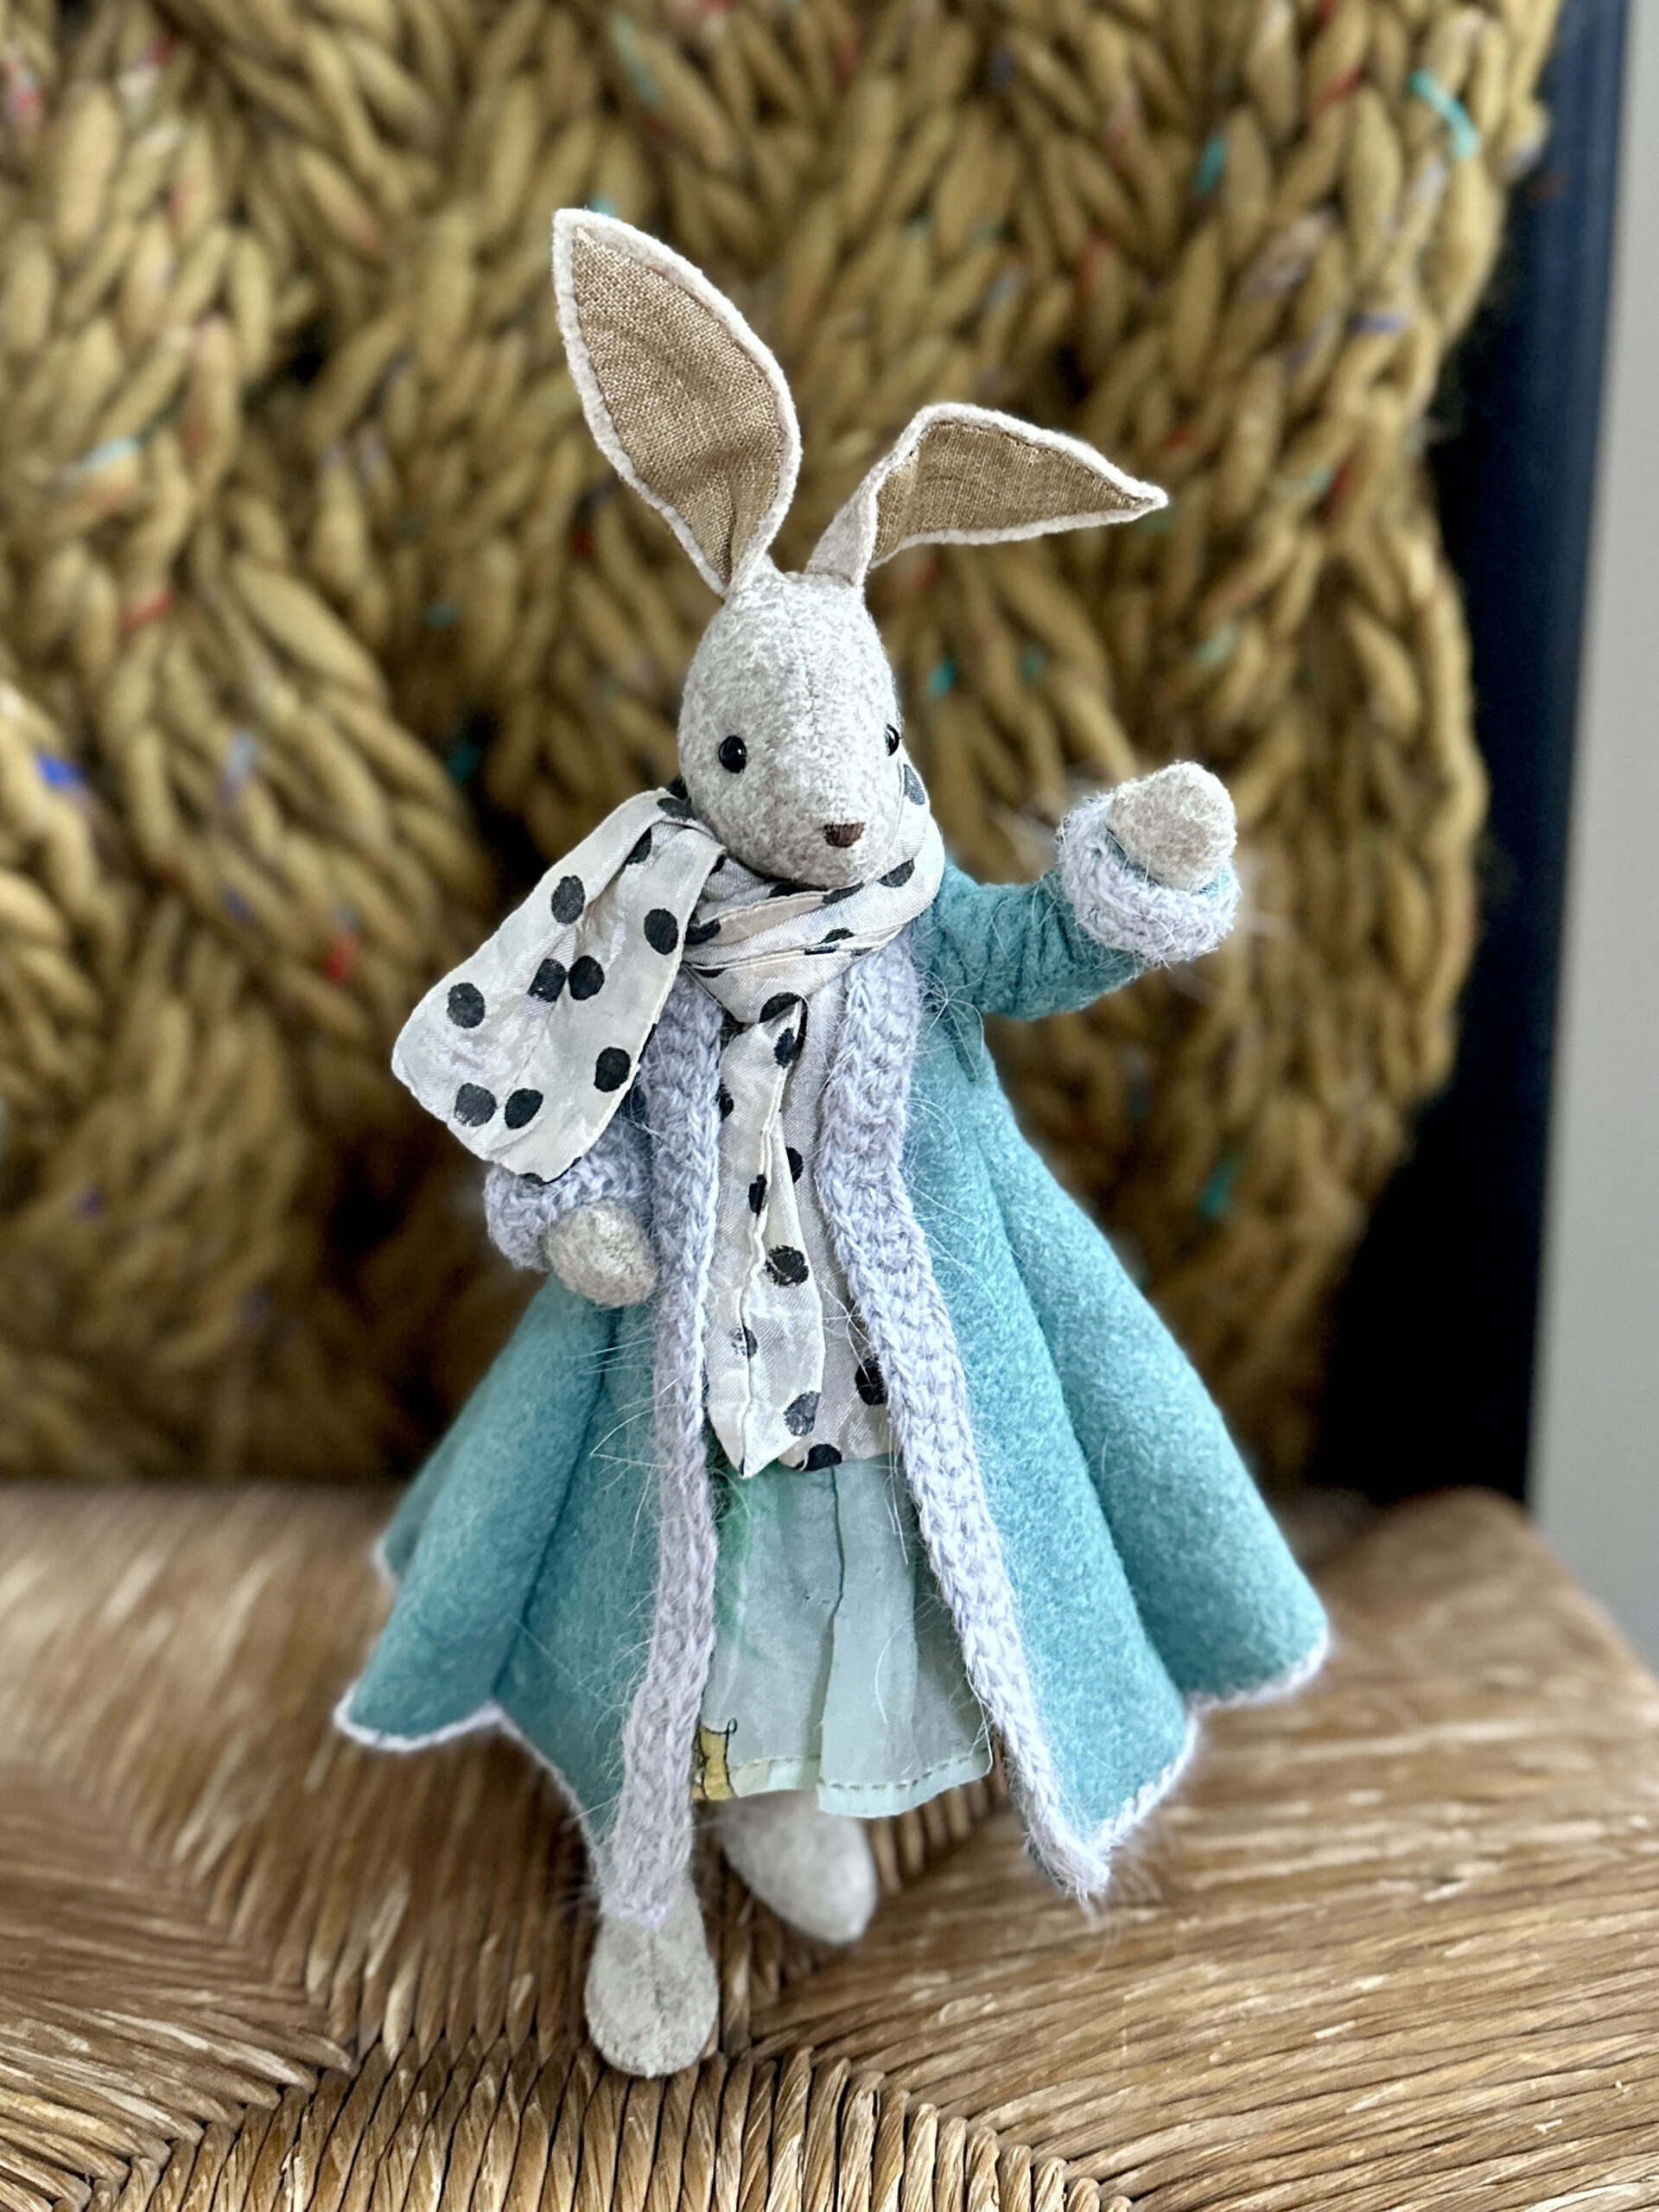
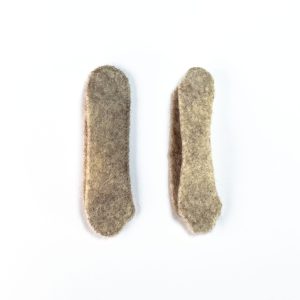
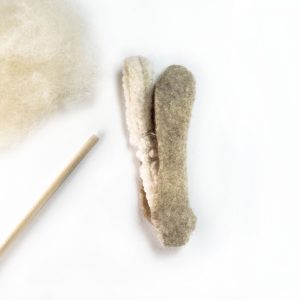
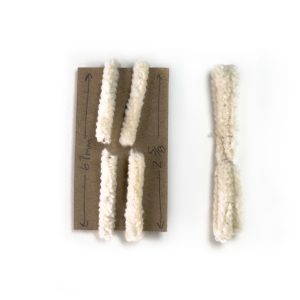
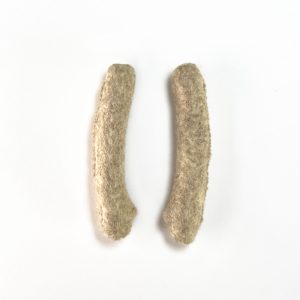
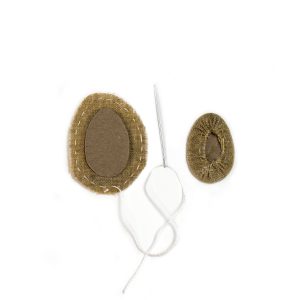
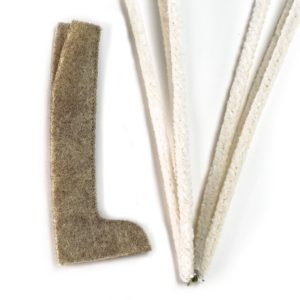
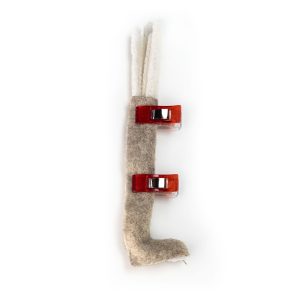
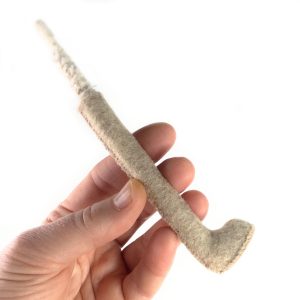
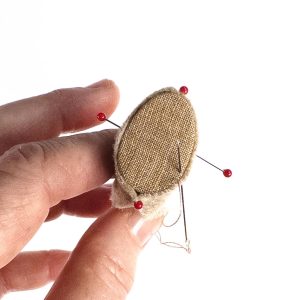
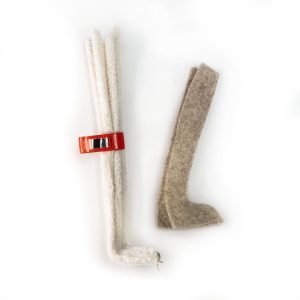
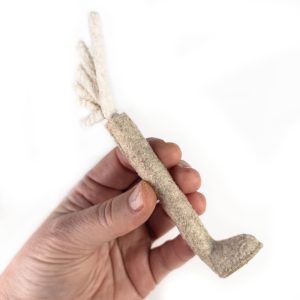
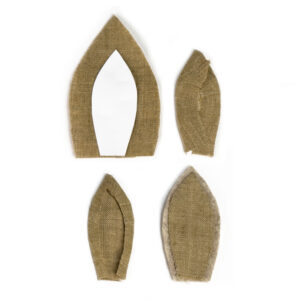
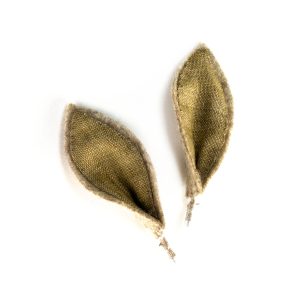
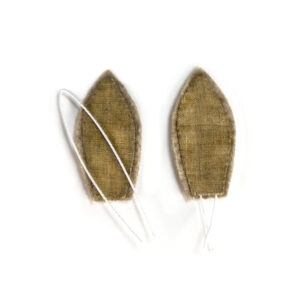
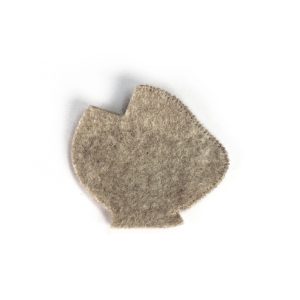
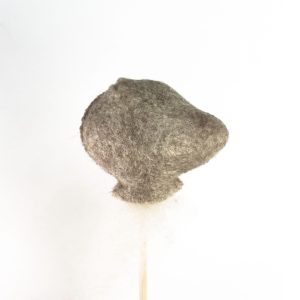
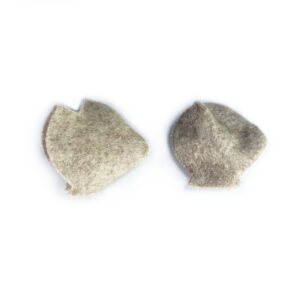
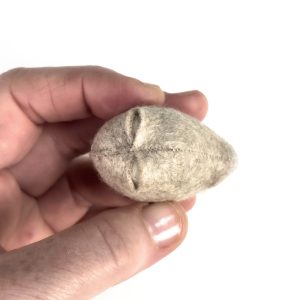
I have been a fan of Luna since I first discovered her, but alas, she is a beautiful Amazon beside my tiny collection of threadfollower critters. Initially, I admired her from afar and watched her community grow as Sara created more delightful books, patterns, and stories. With the writing on Wind in the Willows Felt Friends, I was out flat for a while, but Luna was always in the back of my mind – in miniature! This summer, after settling from a few moves and the completion of Wind in the Willows, I decided to indulge myself in creating her likeness. I scaled Luna down to 55%, which put her slightly larger than my animal patterns and in scale with my doll pattern (available on my Patreon). What a joy she was to create! Mini Luna now stands about 25.5cm (10 inches) tall from feet to ears – rather like a big sister to my animals. I could not help wiring her body as I like to do and stabilizing her feet with a chipboard. When she was complete, I was thrilled that she could stand on her own ! It was a wonderful diversion to create from Sara’s patterns, and I was pleased that she received such a warm welcome on the Luna FB page. After several requests and Sarah’s blessing, I buckled down to create a process tutorial. She is true to Sara’s original pattern (at 55%, but I made a few minor adjustments to accommodate her new petite scale.

The Arms

1. Whipstitch the arm pieces with a single strand of thread (floss). Stitch around the hand, arm front, and shoulder, leaving the back of the arm open. Turn the arms right side out.

2. Cut a chipboard folding card that measures 67mm long (2 5/8in) and about 4cm (1.5in). This card helps to fold the pipe cleaner arm wiring to the correct length. Fold two pipe cleaners at a time (4 total) around the card with the cut ends meeting in the center.

3.Make two bundles of two folded pipe cleaners. Bind the center of each bundle with thread and knot off to secure it. Insert one bundle into each arm. Whipstitch, with a single strand of thread (floss), the hole nearly closed, then stuff the arm with a wool fiber. Stuff evenly around the pipe cleaners and avoid overpacking so the arms remain bendable. Finish whipstitching the hole closed and set the arms aside.

4. Finish whipstitching the hole closed and set the arms aside

The Legs

5. Cut two chipboard pieces and two larger linen pieces. Make a running stitch around the edges of the linen pieces and gather them snugly around the chipboard pieces, knotting off to secure the gathering.

7. Fold the bound end of the pipe cleaners to fit the foot’s shape.

8. Clip (wonder clip) the pipe cleaner in place with the fold tucked into the foot, then whipstitch the base of the heel closed, leaving most of the back leg open.

9. Pin the sole (linen-wrapped chipboard) into the bottom of each foot and whipstitch the soles in place. Catch the edge of the felt and the linen with each stitch. Your needle can pick up the linen without going through the chipboard. Knot off and hide the knots as you finish.

10. Before stitching the back seam of the legs, stuff the feet using a bamboo skewer or a stuffing fork to manoeuvre in the fibre. The pipe cleaner will partially fill the foot cavity, but additional stuffing is needed to fill it out completely. After foot stuffing, whipstitch, with a single strand, the back seam of the leg. Bind the pipe cleaners at the top edge of the leg, then trim in descending lengths.

11. Bind the graduated pipe cleaner lengths with thread into a tapered point

The Ears

12. Cut the inner ear folding templates in Bristol board (or card stock), the inner ear pieces in linen, and the ear pieces in felt. Lay the linen on your ironing surface, lightly spritzing it with water, then centre the folding template on top with aligned bottom edges. Fold and press the linen over the template’s edges. It is easier to have extra large edges to work with for this applique technique, so trim back the extra linen with a small foldover after pressing. Centre the linen inner ear onto the felt with aligned bottom edges, then whipstitch the linen to the felt with a single strand of floss. As you stitch, grab only the surface of the felt and the linen edge so the stitching will not be visible on the back of the ear.

13. Use cotton-covered floral wire (or other lightweight wire on hand) to wire the ears. Cut a 15cm (6 inch) length of wire for each ear and fold it in half. Use wire between 24 and 30 gage.

14. Pinch and whipstitch (using a single strand of thread) the base of each ear, then fold and bind the exposed wire. The final exposed length should be between 1 and 2cm long. 

The Head

15.Whipstitch the front of the face up to the top head dart with a single strand of thread (floss). Knot off, then turn the head right side out. 

17. Firmly stuff the head using a skewer or stuffing fork as your tool. When the head seems full, add more stuffing by slipping it between the “felt skin” and central stuffing. You can also add more by cutting a channel into the centre of the wool stuffing and adding more to fill from the centre core outward. I like to stuff the heads very firmly so I can indent the eyes without the head collapsing. 

18. When stuffed, the top of the head should look like this with the ear-hole darts spreading open. 

Part Two coming  soon

2 Comments

Leave a Reply

Close Menu